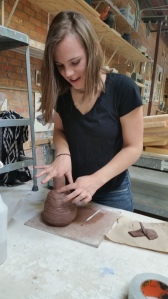
This tutorial provides instruction on building your very own ollas. It takes time and practice to perfect the skill, but eventually you will produce a beautiful, functional olla. These instructions are for a medium sized olla. The building time is about 3-5 hours. The drying and firing process takes several days.
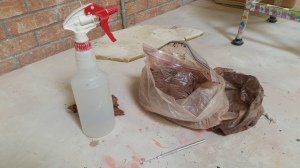
You will need:
- A bag of low fire clay
- A scratching tool, such as a small knife or a fork
- A 1 foot by 1 foot board
- A misting water bottle
- Newspaper
- Paper towels
- A large plastic bag
Step 1: Assemble your tools. You will build the olla on the board, you will constantly need your scratching tool, and the water bottle should be available to mist your work occasionally to keep it moist. The newspaper will be put inside to maintain the olla shape. The paper towels are necessary for cleanup, and more paper towels and the large plastic bag will be used to store your work when you are not working on it.
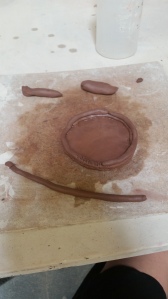
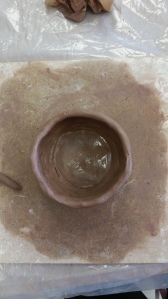
Step 2: Make the base. Roll out a slab of clay about ¼ inch thick and cut out a circle with a diameter of approximately 4 inches.
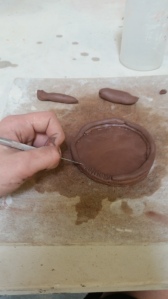
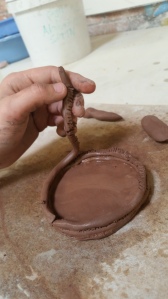
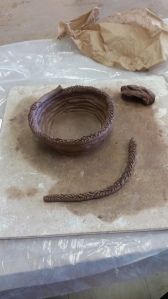
Step 3: begin building the coil pot. Roll out ropes of clay about 3/8 inch in diameter and about 7 inches long, or whatever length is most manageable. You will coil the clay ropes around the base of the pot and build them up and out. In order to attach the coils to each other and to the base, you will need to scratch and score. This means that you will make scratch marks in a checkerboard pattern on the two surfaces that will connect, dampen them, and then press the scratched faces of the two pieces of clay together. You must scratch and score and two pieces of clay that you wish to connect, or they will not bond.
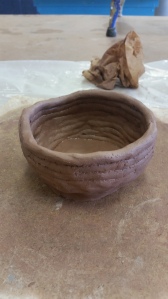
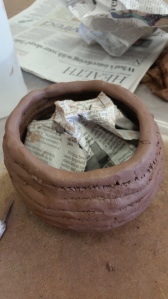
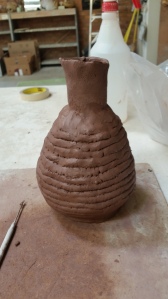
Step 4: Continue building the coil pot. Wrap the clay ropes layer by layer on the pot as you begin to build height. The belly of a medium sized olla is about 6 inches tall, so keep the coils angling outward until the pot is about 3 inches high.
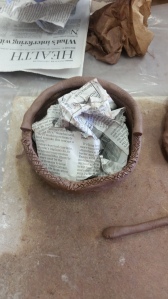
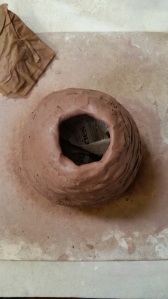
Step 5: Begin closing up the belly of the olla. Lightly crunch some newspaper and place it in the olla to help hold the shape. Do not stuff in the newspaper. Continue wrapping the clay ropes around, but angle them inwards slightly so the olla gradually moves in and gets smaller at the top. Put in more newspaper if necessary to hold the shape.
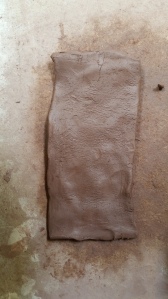
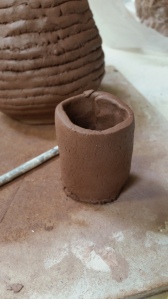
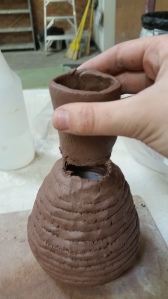
Step 6: Build the neck. Once the opening at the top of the olla belly is only around 1 ½ inches wide in diameter, stop coiling clay ropes. Roll out a slab of clay about ¼ inch thick and cut a long rectangle out of the slab. The width of the rectangle will define how tall the neck of the olla is; aim for a touch more than 3 inches. The rectangle should be long enough to curl into a tube so that one of the opening ends has a diameter of about 1 ½ inches that matches up with the opening in the olla belly.
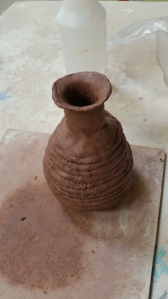
Step 7: Attach the neck and create the flared top. Using scratch and score, attach the tube neck to the main olla body. Once it is secure, pinch the top of the olla neck so that it widens and flares out into the top of the olla.
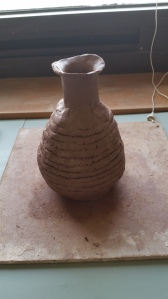
Step 8: Finish it up. Gently place the plastic bag over the finished olla and let it dry out for a few days. Once it is dry, fire the olla. Do not glaze it. Once the olla has been fired, it is complete and can be placed in your garden.
Tips:
- To store your olla between working sessions, dampen paper towels and wrap them around the olla. Wrap the olla and board securely in the plastic bag and place out of harm’s way until you can work on it again. Check up on the olla every 3-4 days to make sure the paper towels are still damp and the clay is still workable.
- Always dampen and tightly wrap up your excess clay in its bag so that it does not dry out.
- Don’t worry about how it looks. Your olla will be buried underground to water plants, so do not stress out if it looks a little misshapen.
- Scrape the clay from your work space and your hands into the trash when you clean up. Avoid washing away any clay down the sink, because it will collect, harden, and clog the drains.
- Working with clay is messy, so work carefully and wear clothes that can get slightly dirty.
I had a lot of fun building my olla, and I hope you will too!
